Note
Go to the end to download the full example code or to run this example in your browser via Binder.
Calibrating Denoisers Using J-Invariance#
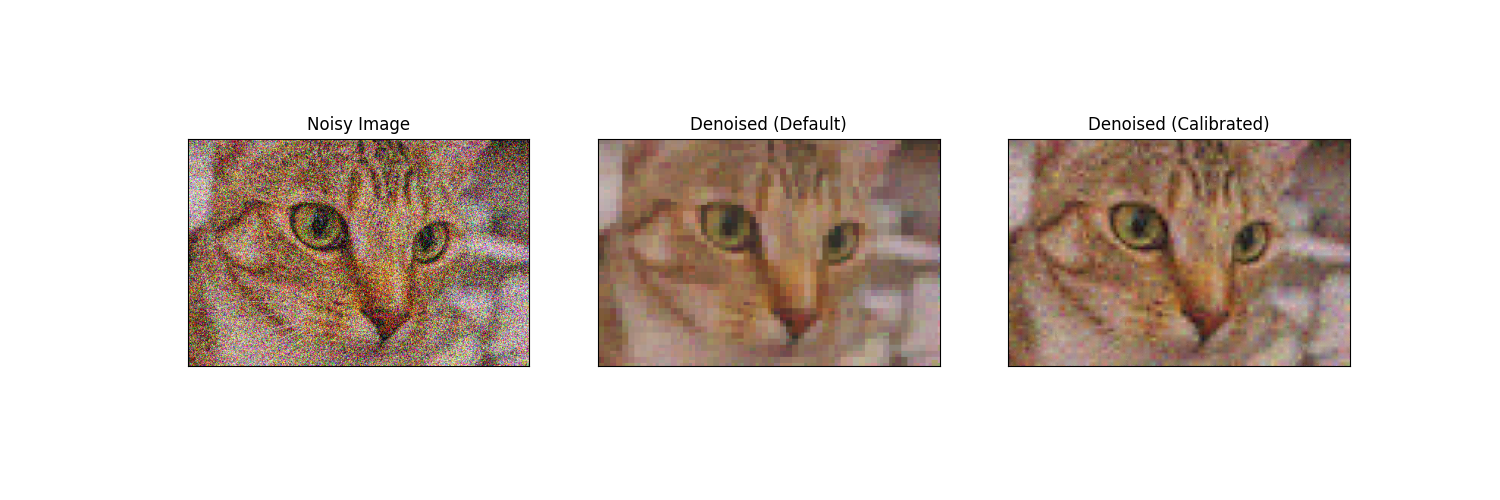
In this example, we show how to find an optimally calibrated version of any denoising algorithm.
The calibration method is based on the noise2self algorithm of [1].
See also
More details about the method are given in the full tutorial Full tutorial on calibrating Denoisers Using J-Invariance.
Calibrating a wavelet denoiser
import numpy as np
from matplotlib import pyplot as plt

from skimage.data import chelsea
from skimage.restoration import calibrate_denoiser, denoise_wavelet

from skimage.util import img_as_float, random_noise
from functools import partial

# rescale_sigma=True required to silence deprecation warnings
_denoise_wavelet = partial(denoise_wavelet, rescale_sigma=True)

image = img_as_float(chelsea())
sigma = 0.3
noisy = random_noise(image, var=sigma**2)

# Parameters to test when calibrating the denoising algorithm
parameter_ranges = {
    'sigma': np.arange(0.1, 0.3, 0.02),
    'wavelet': ['db1', 'db2'],
    'convert2ycbcr': [True, False],
    'channel_axis': [-1],
}

# Denoised image using default parameters of `denoise_wavelet`
default_output = denoise_wavelet(noisy, channel_axis=-1, rescale_sigma=True)

# Calibrate denoiser
calibrated_denoiser = calibrate_denoiser(
    noisy, _denoise_wavelet, denoise_parameters=parameter_ranges
)

# Denoised image using calibrated denoiser
calibrated_output = calibrated_denoiser(noisy)

fig, axes = plt.subplots(1, 3, sharex=True, sharey=True, figsize=(15, 5))

for ax, img, title in zip(
    axes,
    [noisy, default_output, calibrated_output],
    ['Noisy Image', 'Denoised (Default)', 'Denoised (Calibrated)'],
):
    ax.imshow(img)
    ax.set_title(title)
    ax.set_yticks([])
    ax.set_xticks([])

plt.show()

Clipping input data to the valid range for imshow with RGB data ([0..1] for floats or [0..255] for integers). Got range [-0.035450815908571555..0.9530508827904981].
Total running time of the script: (0 minutes 1.222 seconds)
