Note
Click here to download the full example code or to run this example in your browser via Binder
Scientific images
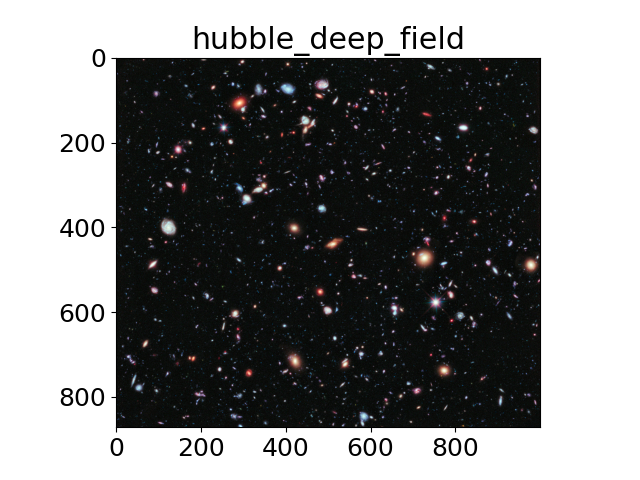
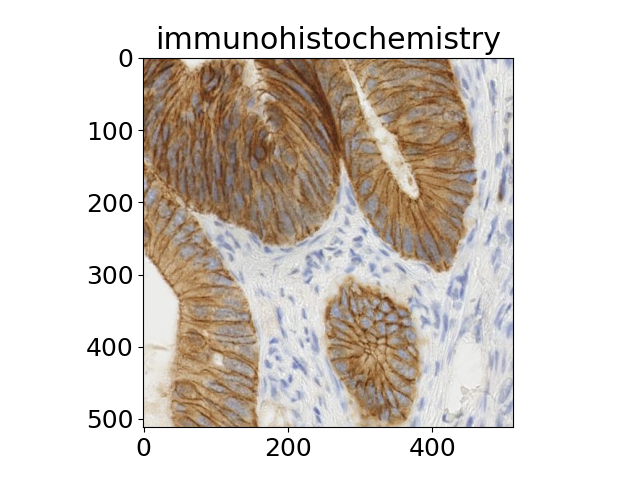
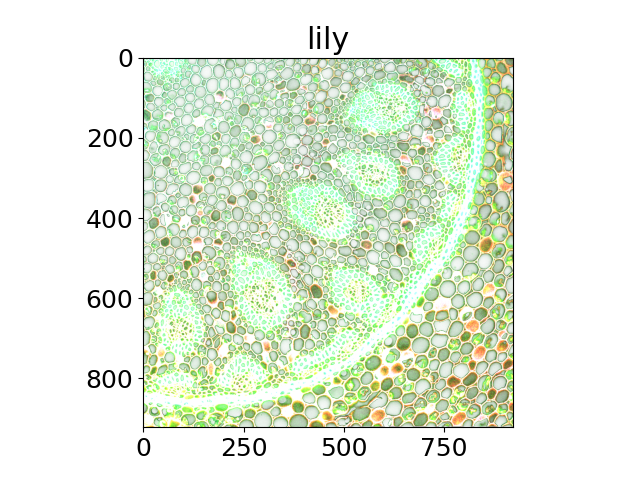
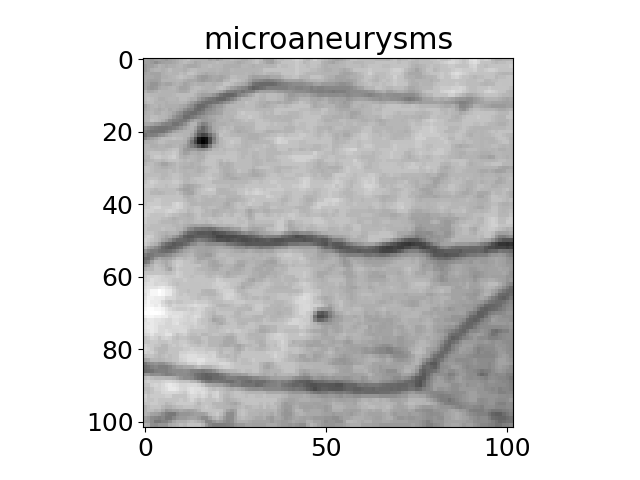
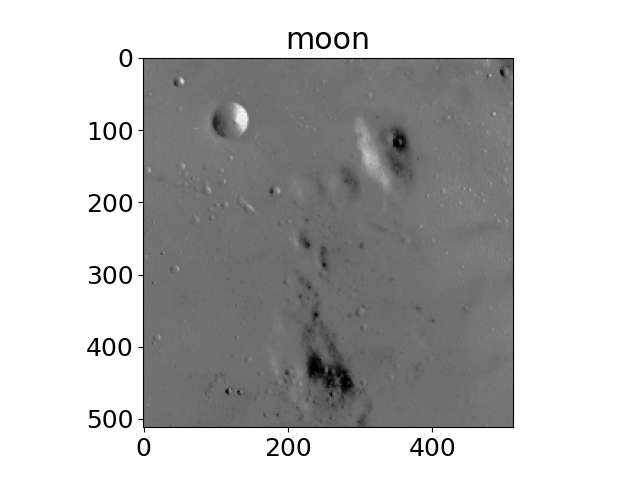
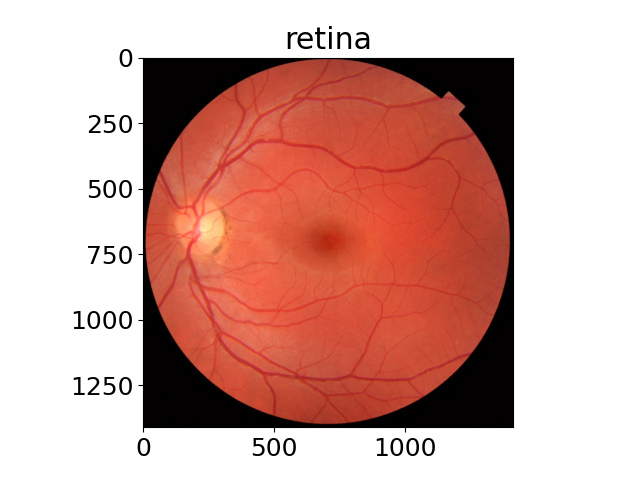
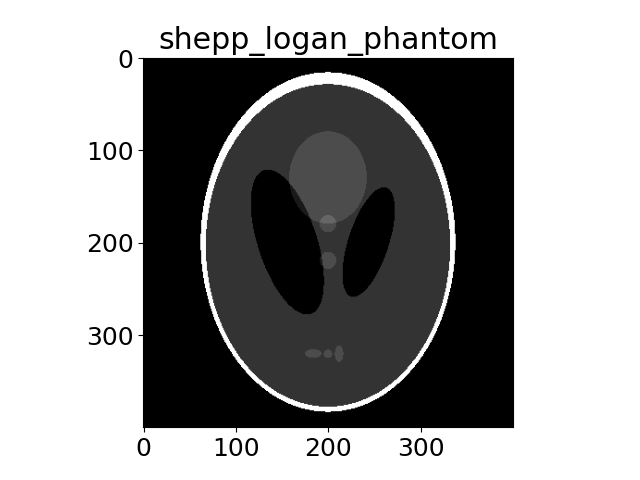
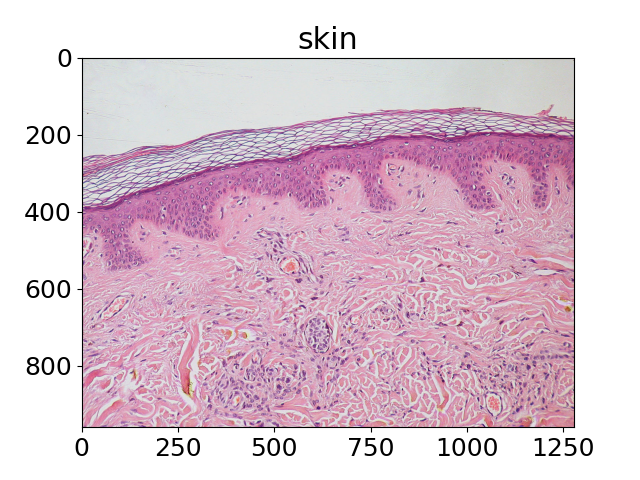
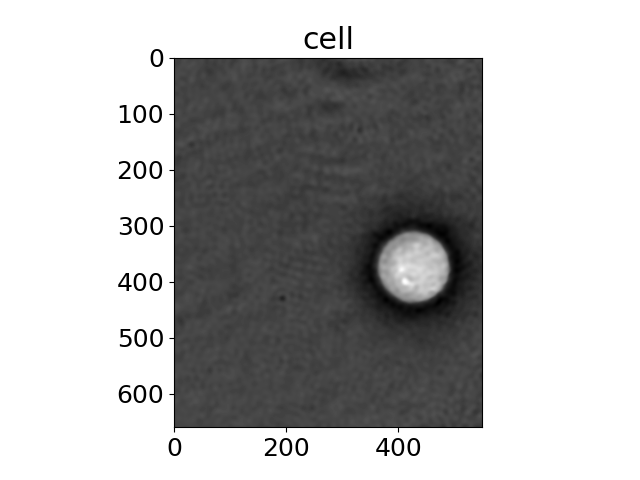
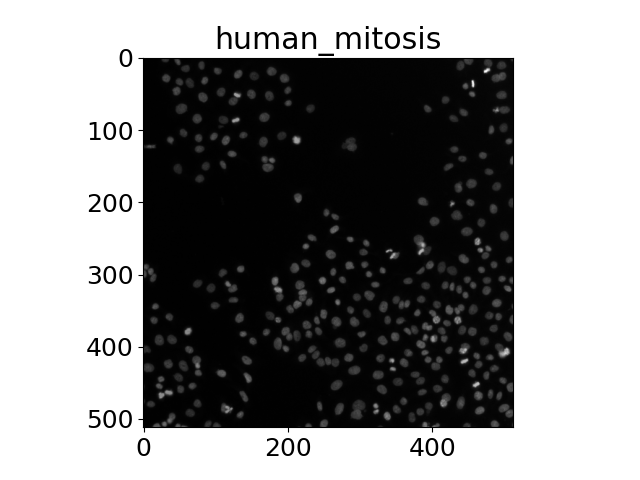
The title of each image indicates the name of the function.
import matplotlib.pyplot as plt
import matplotlib
import numpy as np

from skimage import data

matplotlib.rcParams['font.size'] = 18

images = ('hubble_deep_field',
          'immunohistochemistry',
          'lily',
          'microaneurysms',
          'moon',
          'retina',
          'shepp_logan_phantom',
          'skin',
          'cell',
          'human_mitosis',
          )


for name in images:
    caller = getattr(data, name)
    image = caller()
    plt.figure()
    plt.title(name)
    if image.ndim == 2:
        plt.imshow(image, cmap=plt.cm.gray)
    else:
        plt.imshow(image)

plt.show()
Clipping input data to the valid range for imshow with RGB data ([0..1] for floats or [0..255] for integers).
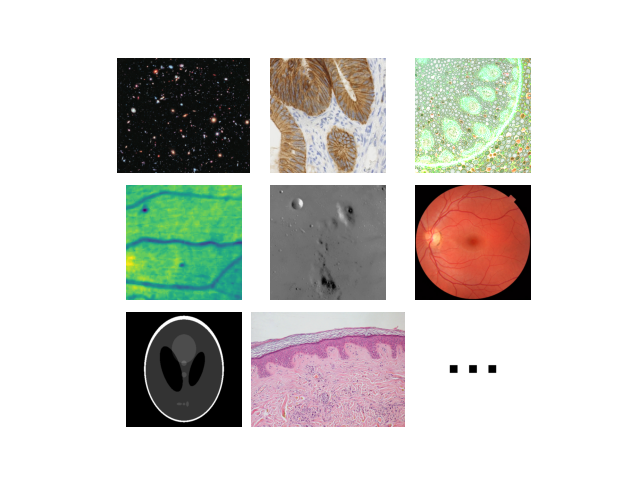
Thumbnail image for the gallery
fig, axs = plt.subplots(nrows=3, ncols=3)
for ax in axs.flat:
    ax.axis("off")
axs[0, 0].imshow(data.hubble_deep_field())
axs[0, 1].imshow(data.immunohistochemistry())
axs[0, 2].imshow(data.lily())
axs[1, 0].imshow(data.microaneurysms())
axs[1, 1].imshow(data.moon(), cmap=plt.cm.gray)
axs[1, 2].imshow(data.retina())
axs[2, 0].imshow(data.shepp_logan_phantom(), cmap=plt.cm.gray)
axs[2, 1].imshow(data.skin())
further_img = np.full((300, 300), 255)
for xpos in [100, 150, 200]:
    further_img[150 - 10 : 150 + 10, xpos - 10 : xpos + 10] = 0
axs[2, 2].imshow(further_img, cmap=plt.cm.gray)
plt.subplots_adjust(wspace=-0.3, hspace=0.1)
Clipping input data to the valid range for imshow with RGB data ([0..1] for floats or [0..255] for integers).
Total running time of the script: ( 0 minutes 3.350 seconds)

 Source